This is a translation of Väntarvantarna, a Swedish step-by-step tutorial that I published some days ago. My very dear friend Ita asked for an English version, and that was a challenge I couldn’t resist. Here you are, Ita!
***
Do you think it’s OK to knit mittens in this summer weather?
I do! Especially when
1. the needles (number 4, and circular, but that’s just for convenience, I could just as well have used two straight ones) were released from another project,
2. a couple of little left-over skeins from a left-over table at a charity knitting day (a slightly more luxurious wool yarn) appeared,
3. an old idea emerged again!

What I’ve done is making use of the fact that knitting withour purling at all results in a super-elastic structure — and turning it around in order to maximize it.
The yarn shifting colours makes this idea even better, of course!
(My mother let me take photos of her hands.)
Because I started on a day when I had to wait for a train for more than an our, I decided to make my very first step-by-step photo tutorial. Uusally that’s something I can’t do — I only knit in the bus, sometimes in the train and maybe in the kitchen of some friend while we’re sitting there talking and it’s dark outside. Now I had daylight and a project that moved forward so quickly that I could manage the documentation!
Let’s start:
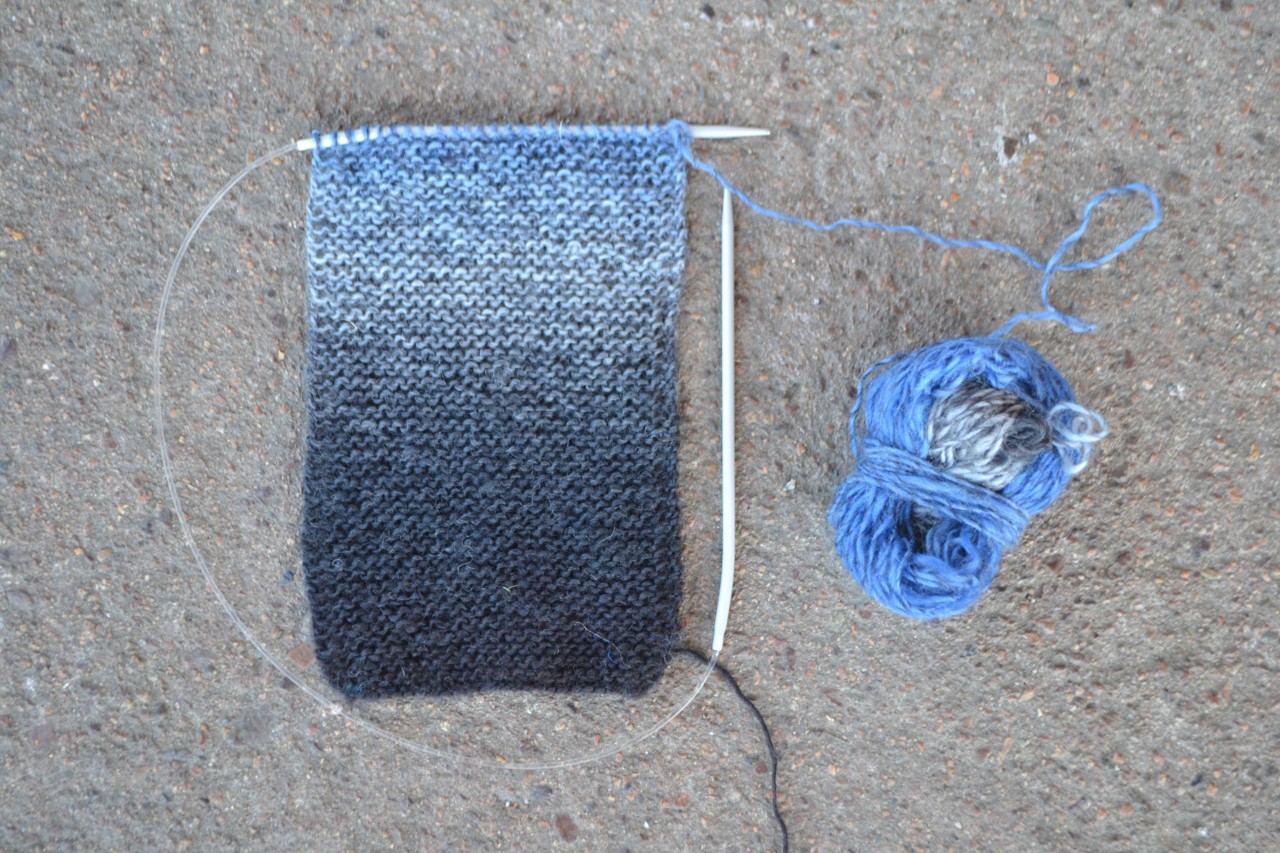
Start by knitting the cuff. Cast on to the width that you like — here it’s 26 stitches.
Knit until it’s enough to reach around your wrist. For me that meant 84 rows.
Cast off all stitches except the last one. Make it loose — this edge will (later) be crocheted or sewn together with the cast-on edge.
(It’s the asphalt outside the Lessebo railway station in Småland, Sweden, that you’re looking at here. Not very glamorous, but the yarn stands out quite well against the background, doesn’t it?)

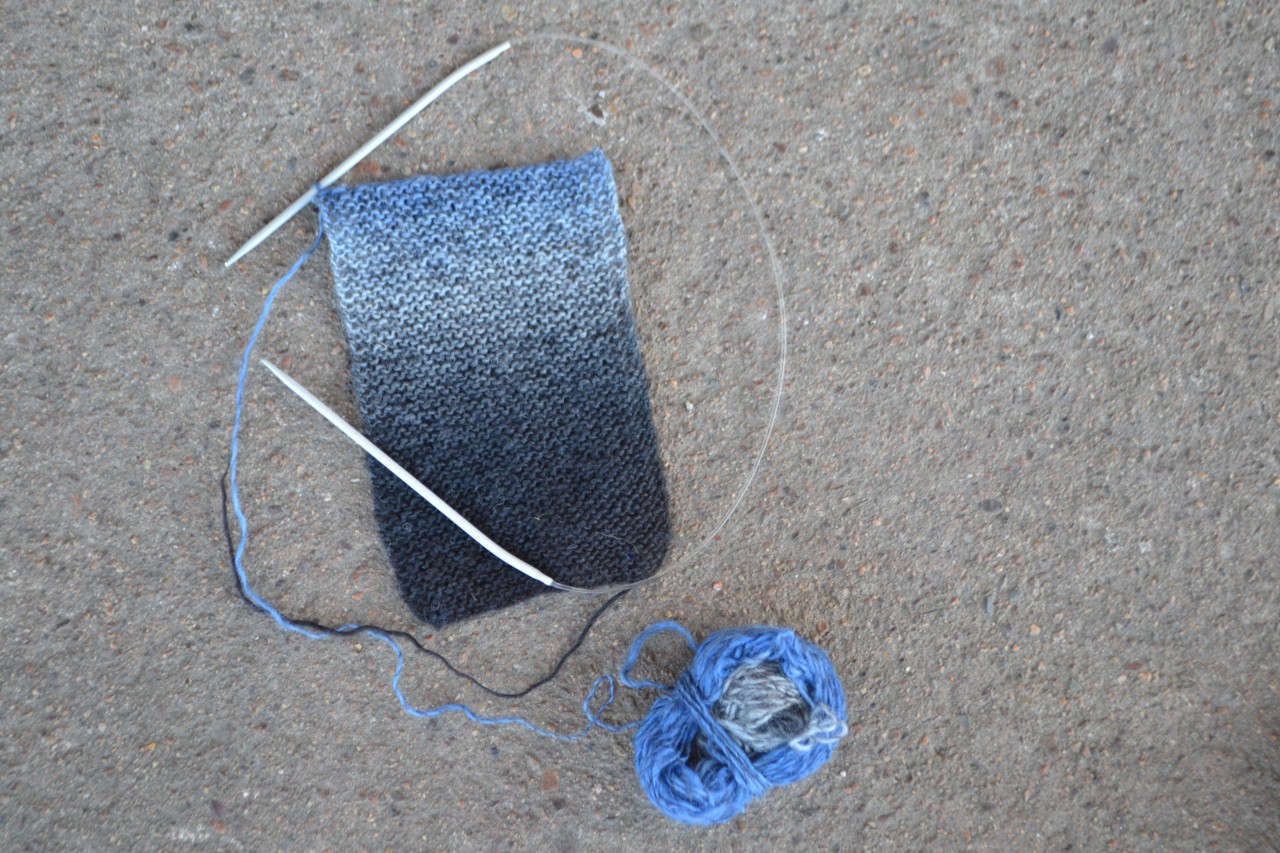
The last stitch will be the first one in your new row — 90 degrees away, so to speak.
In Norwegian, there’s a very good knitting word, ”rilla”. It means every two rows when you’re making knit stitches only. Here you make one new stitch from every ”rilla”.
This means that you’ll have 43 stitches on your needle when you’re done — or another number if you tried the cuff on a thinner or broader wrist.

Knit 6 rows, or 8 if you like. Here you see what will become the visible side of the mitten, the one where the edge between the two parts is less visible.
Then it’s time to start increasing.
I’ve knitted a few different mittens back and forth (non-circular) before, and I’ve always made the thumb right at the middle of the piece. That’s symmetrical and looks good while one is still knitting, but I’ve found that when the mitten is finished and has a hand in it, the seam ends up being a bit too visible. This time I decided to push it just a little bit into the palm side.
Increase like this (the parenthesis is the other mitten, for your left hand), and adjust the idea to the number of stitches you have:
Increase row 1, from right side: knit 25 (18), increase 1 (here are step-by-step photos of the method I use), knit 18 (25).
All rows from back side: knit all.
Second increase row, and all following increase rows: knit 25 (18), increase 1, knit the increased stitches, increase 1, knit 18 (25).
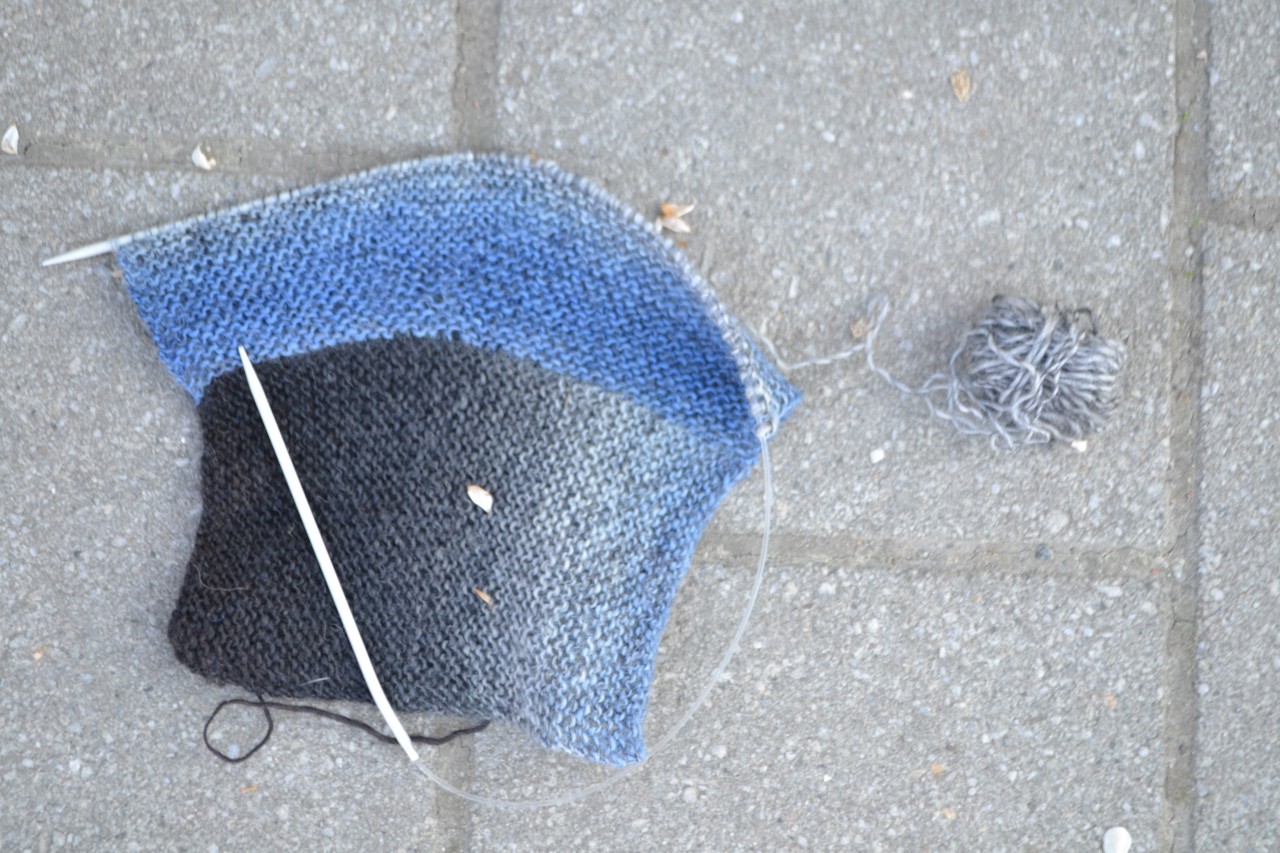
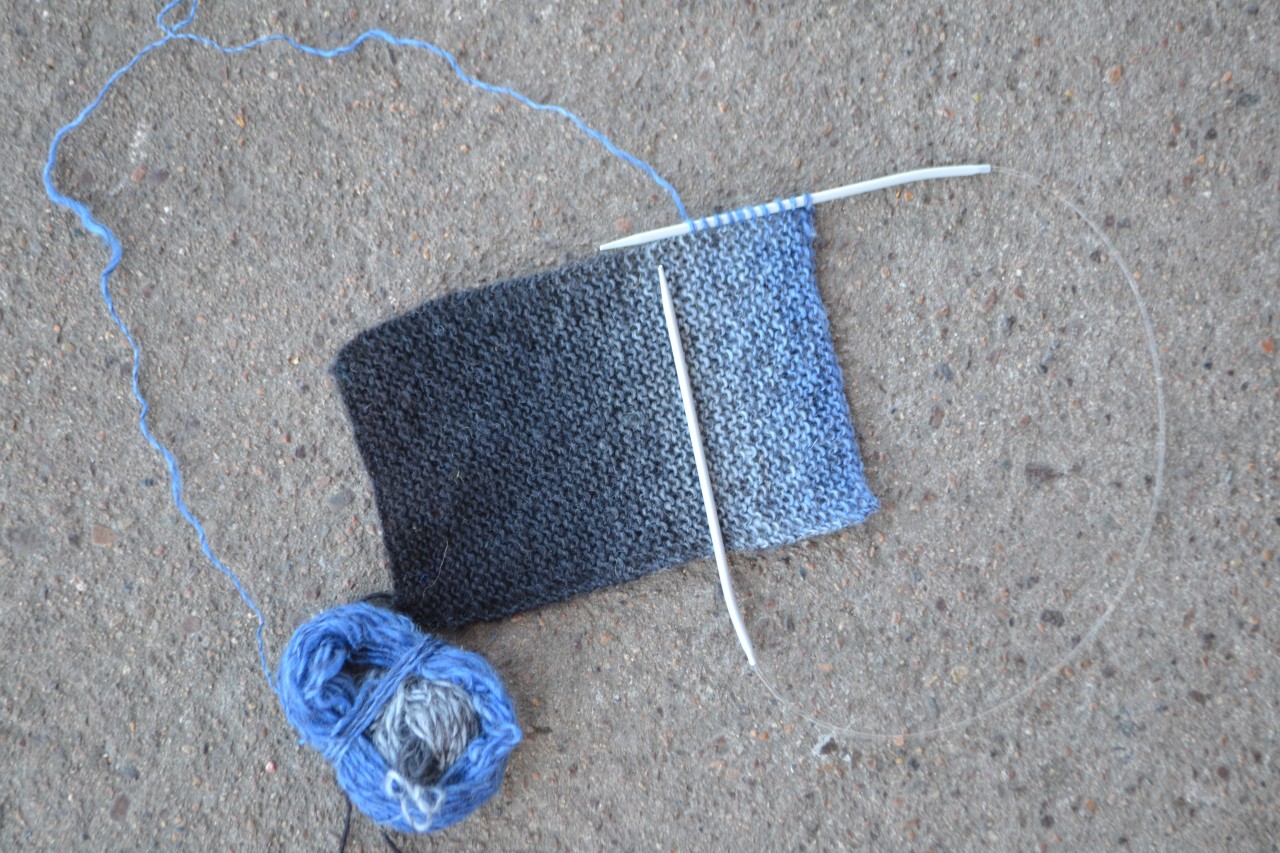
After a while it looks like this.
(The stones here are located outside the Hässleholm railway station in Skåne, Sweden, at the bus stop where the buses run when trains are cancelled. I stood there waiting for quite some time, so I decided that it was OK to unpack knitting and camera. No more strange than checking social media on one’s telephone, phoning home to say angry things about the railway company or smoking a cigarette, right?)

The increases are much less visible than when made in a ”flat” structure, but you can see the triangle shape here, can’t you?
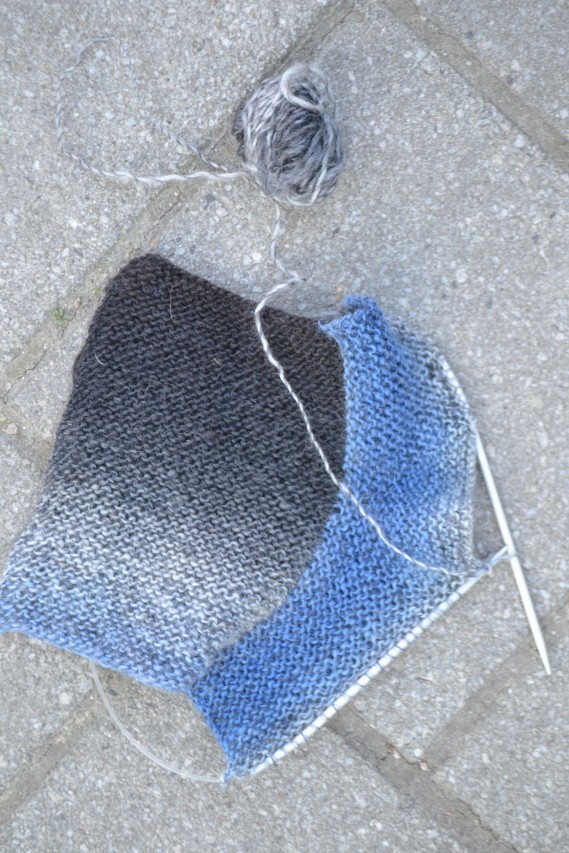
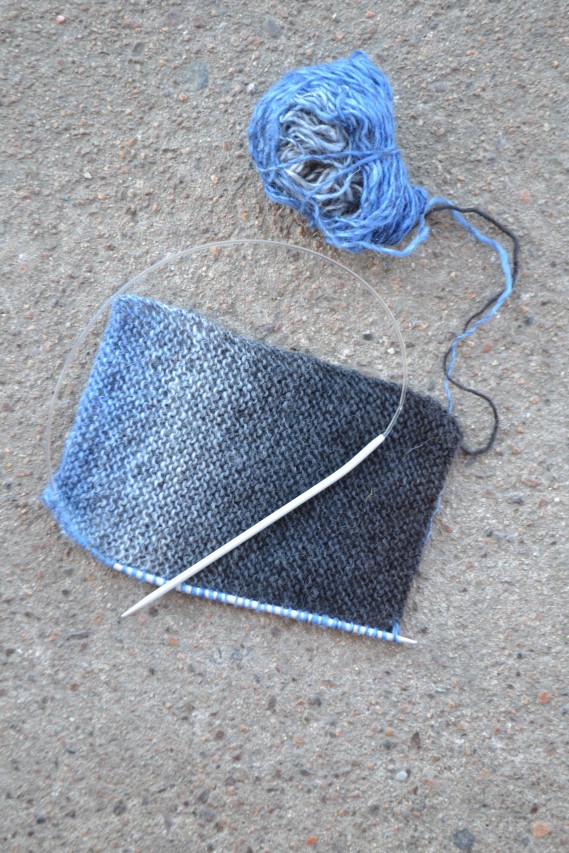
When the thumb triangle is wide enough for you — 21 stitches were enough for me — you just cast off all the added stitches. Then you’re back to 43 stitches again (or as many as you made along the edge).
In the next row you knit the two stitches on either side of the thumb triangle together. Now you have 42 stitches left.
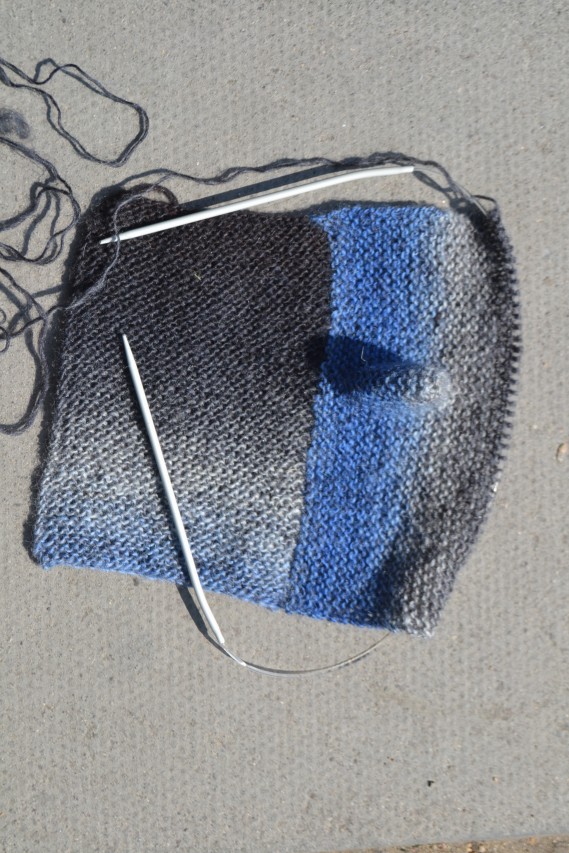
Knit back and forth with those stitches until you think the mitten reaches high enough on your hand. For me, 15 rows after casting off the thumb was good.
(Now you’re looking at a pavement in Southall, London, Britain! I was waiting for a bus on my way to an interview.)
Cast off all stitches except the last one. Make it loose!

Use the last stitche to crochet the sides together. Of course you could just as well sew them together. If you like, you could crochet from the right side, using a different colour — that would look nice! I crocheted from the back side using the same yarn.

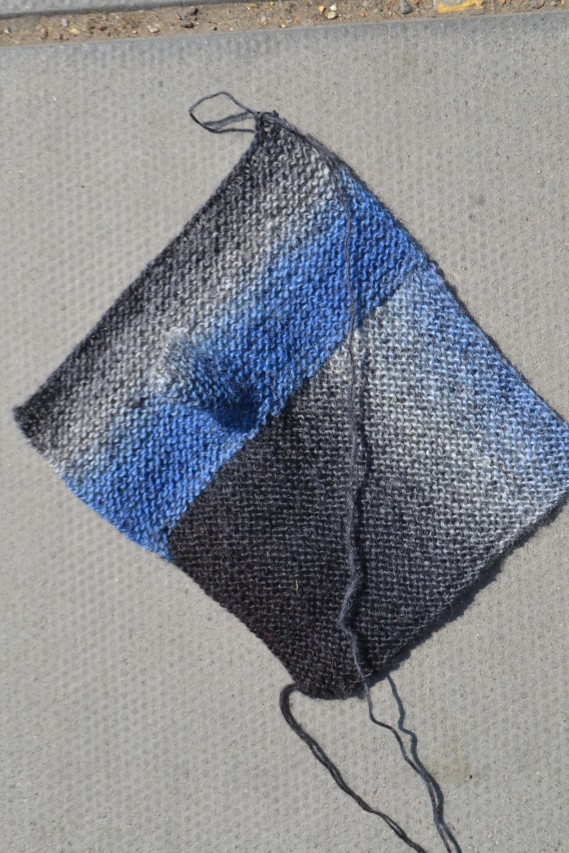
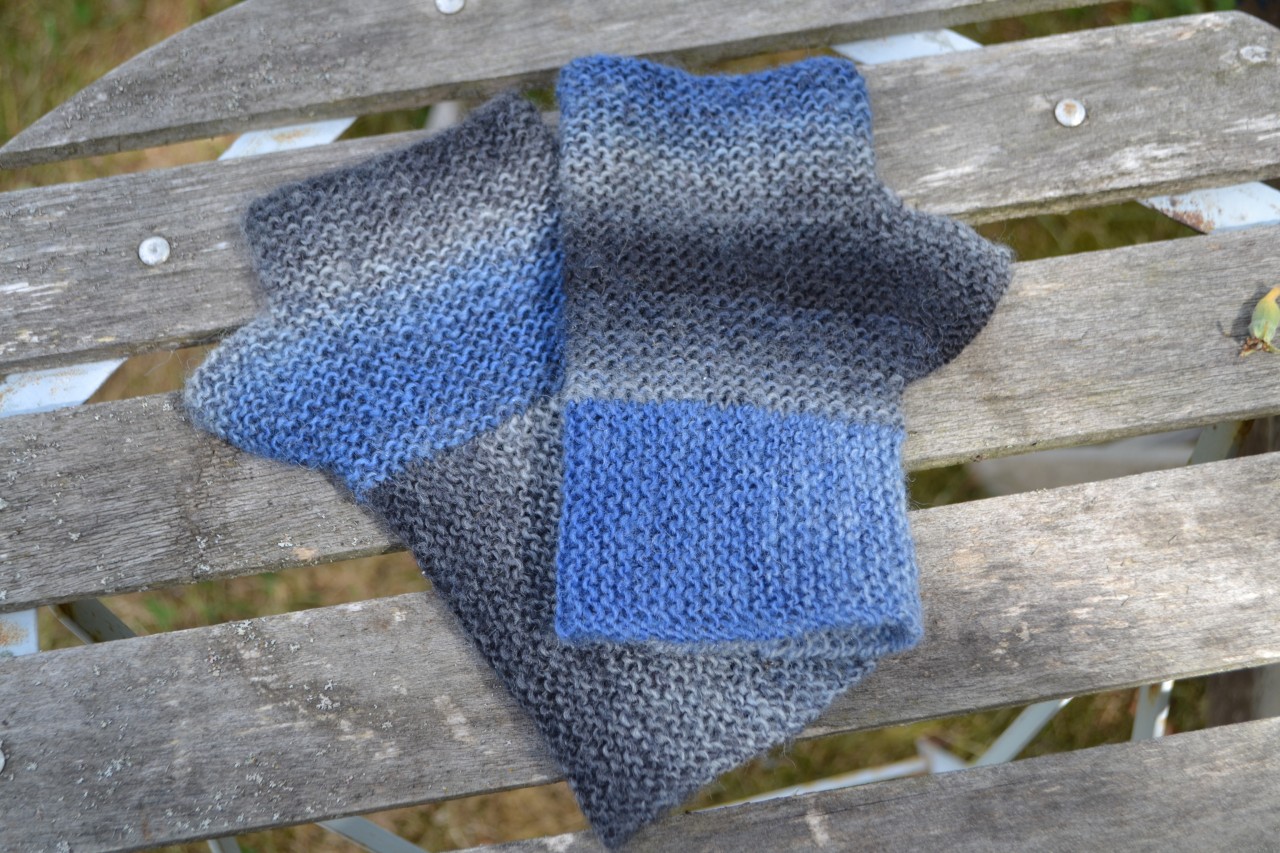
And this is what the finished mitten looks like!

A closer look at the edge between the two ”directions”.

Maiking it slightly asymmetrical was a good idea, wasn’t it? The seam ends up in a good place, not too visible.

My niece thought the cuff was too long, so I tried knitting it 15 stitches wide as well.

Here you can see the difference.
And this is how they look without hands in them. They look better with hands in them, that’s clear, isn’t it?
I hope that somebody finds this pattern useful — at least I had fun challenging myself to make it! I had to stop myself several times when it was time for a photo and I was in a place where I couldn’t take it straight away.
If you do use the pattern and/or develop it further, feel free to send a photo!